
Product Details
Bean Counter Quilts Stocking Sweet Stocking Pattern
Free Shipping+Easy returns

Product Details
VERO MONTE Women Patterned Fishnets Tights Small Hole Thigh High Sexy Stockings
Free Shipping+Easy returns

Product Details
Aunties Two Patterns Holiday Christmas Stocking Pattern
Free Shipping+Easy returns

Product Details
McCall’s Patterns M5778 Holiday Decorations, One Size Only
Free Shipping+Easy returns

Product Details
HONENNA Patterned Fishnet Tights Pantyhose Stockings for Women
Free Shipping+Easy returns

Product Details
HOVEOX 6 Pairs Lace Patterned Tights Fishnet Floral Stockings Small Hole Pattern Leggings Tights Net Pantyhose
Free Shipping+Easy returns

Product Details
CaptainCrafts Cross Stitch New DIY Art Stamped Cross Stitch Kits Preprinted Pattern Starter Kits for Beginner Adults – Chr…
Free Shipping+Easy returns
Product Details
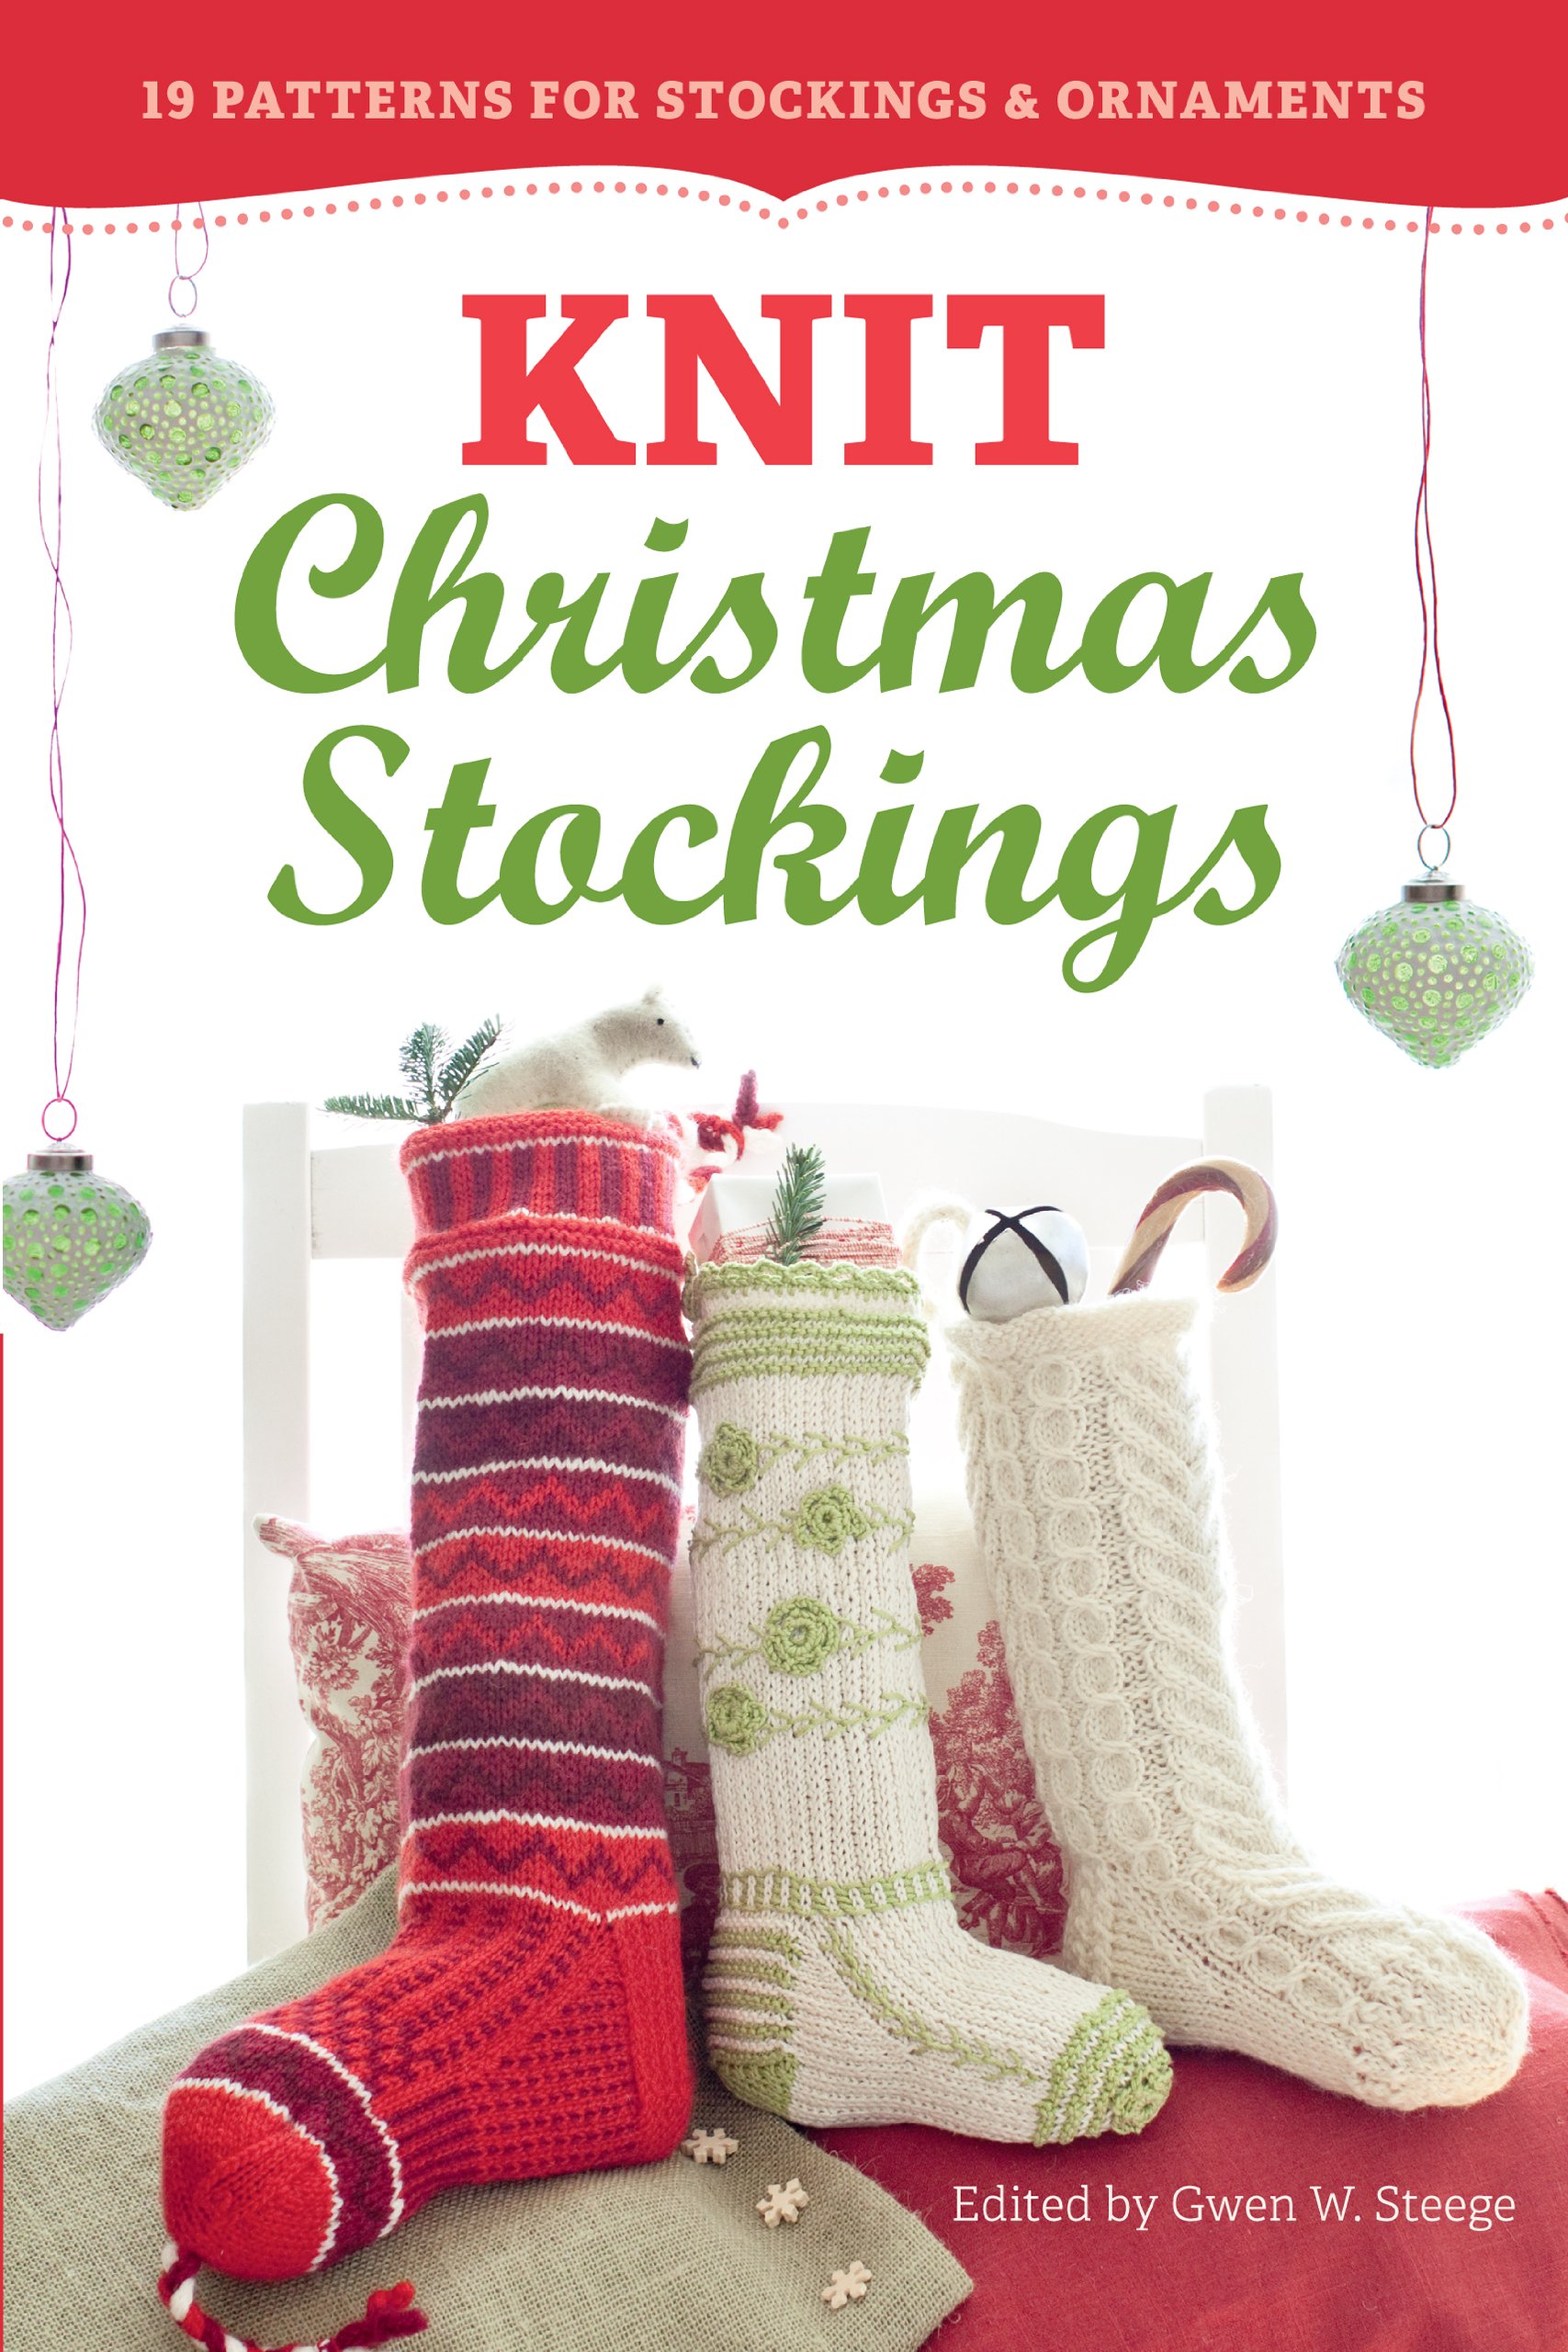
Knit Christmas Stockings, 2nd Edition: 19 Patterns for Stockings & Ornaments
Free Shipping+Easy returns

Product Details
2 Pieces Christmas Stockings Pet Paw Pattern Stockings Fireplace Hanging Stockings for Pet and Christmas Decoration (Red a…
Free Shipping+Easy returns

Product Details
CaptainCrafts New Cross Stitch Kits Patterns Embroidery Kit – Christmas Stockings, Snow View (White)
Free Shipping+Easy returns

Product Details
Dimensions Needlecrafts Dimensions Holiday Glow Stocking Counted Cross Stitch Kit, 70-08952
Free Shipping+Easy returns

Product Details
Truform Sheer Compression Stockings, 15-20 mmHg, Women’s Knee High Length, Diamond Pattern, Black, Medium
Free Shipping+Easy returns
sewing

Top US sewing blogger, Diary of a Quilter, features an Easy DIY Christmas Stocking Pattern and Tutorial for a simple stocking. Click here!
Free Crochet Patterns

One Hour stocking free crochet pattern and video tutorial. You will be so surprised how fast you can crochet a Christmas stocking.
Crafty

christmas

Who’s ready for some Christmas in July! This year marks our 4th annual event and I’m excited once again to be teaming up with the sweet Amanada of Loops and Love Crochet! We each have 2 free patterns to share with you this month and today is release day for our first pattern. This fun crochet cow stocking! As I wait for a cow (or two) to join our little farm at home they’ve been on my hook to keep me patient. This stocking was inspired by the large and mini size cow you can find here on the blog and I decided we needed another with some Winter flair! If you’ve never worked with blanket yarn before you are in for a treat! Not only does it help your project fly by, it’s super soft and glides with ease. I still have half of my skein left so keep an eye out for more blanket yarn patterns, I’m a little hooked! We still have 3 more patterns to share with you this month and I will update this post with links as they are released. You can also follow Amanda and I on our social media platforms below (this is the best way to see some sneak peeks along the way!). Loops and Love Crochet – Instagram – Facebook Grace and Yarn – Instagram -Facebook For this pattern you will want to be familiar with working in the round, I recommend using a stitch marker either at the beginning or end of each round. If you’d like to bypass sewing, the facial features and spots can be attached with a hot glue gun. Just make sure to place a small piece of cardboard inside of your stocking to avoid the glue sticking through to the other side. Pattern PIN here to save for later Grab the ad-free printable PDF in my Etsy or Ravelry shop (Continue scrolling for the free version here on the blog) Week 1 – Crochet Cow Stocking (this post here) Week 2 – Snowflake Bag Week 3 – Coming July 23rd Week 4 – Coming July 30th Don’t want to miss a new pattern? Stay in touch through these platforms below! Pinterest – Newsletter – Grace \u0026 Yarn Crochet Group This post may contain affiliate links, please see our disclosure for more information. Thank you so much for supporting Grace \u0026 Yarn! You may make and sell items made from this pattern but please do not sell, share or reproduce the actual pattern. If you sell finished items online (Etsy, etc) please provide a link to the pattern and credit to me as the designer, thank you. I hope you enjoy this pattern! Materials – Approximately 95 yards of Bernat Blanket Yarn in White Small amount of worsted yarn in white, black, beige and pink 9mm crochet hook 4.5mm crochet hook Scissors Tapestry needle Stitch markers Small strip of faux leather (cut to m
easure 1” by 5.5”) Sewing needle/ small amount of embroidery floss Hot glue gun (optional) Abbreviations – US terminology SC- Single crochet HDC – Half double crochet SC INC- Single crochet increase SC DEC- Single crochet decrease Rep – Repeat St(s) – Stitch(es) Ch – Chain Finished stocking measurements – Width at toe – 6 inches Width at heel – 7 inches Length (diagonal from top of base to tip of toe) – 17 inches Gauge – 9 SC stitches for 9 rows – 4×4 inch square Notes – For the stocking portion we will be working in the round except for the heel where we will work back and forth in rows. The stocking will be made in one piece (starting at the toe) with a small amount of sewing at the heel. For assembly I used a hot glue gun to attach the facial features (be sure to place a small piece of cardboard inside your stocking to avoid the glue sticking through to the other side), this is optional. If you would prefer to sew, be sure to leave a long tail when fastening off your pieces. Stocking – We will start with our blanket yarn and 9mm crochet hook Toe – Round 1: Create a magic circle with 6 SC Round 2: SC INC in each stitch around (12) Round 3: SC in the first stitch, SC INC in the next, rep around (18) Round 4: SC in the first 2 sts, SC INC in the next, rep around (24) Round 5: SC in the first 3 sts, SC INC in the next, rep around (30) Rounds 6-17: SC around (30) Heel – We will now start the heel working back and forth in rows, do not fasten off yarn. Row 1: SC in the next 14 sts, ch 1 and turn (14) Row 2: SC DEC, SC in the next 10 sts, SC DEC, ch 1 and turn (12) Row 3: SC DEC, SC in the next 8 sts, SC DEC, ch 1 and turn (10) Row 4: SC DEC, SC in the next 6 sts, SC DEC, ch 1 and turn (8) Row 5: SC DEC, SC in the next 4 sts, SC DEC, ch 1 and turn (6) Row 6: SC DEC, SC in the next 2 sts, SC DEC, ch 1 and turn (4) Row 7: SC INC, SC in the next 2 sts, SC INC, ch 1 and turn (6) Row 8: SC INC, SC in the next 4 sts, SC INC, ch 1 and turn (8) Row 9: SC INC, SC in the next 6 sts, SC INC, ch 1 and turn (10) Row 10: SC INC, SC in the next 8 sts, SC INC, ch 1 and turn (12) Row 11: SC INC, SC in the next 10 sts, SC INC, ch 1 and turn (14) We are now ready to form the shape of our heel. 1. To start, flip your toe inside out and lay flat as pictured below. 2. Fold down the top half of the heel portion we just completed. We will be placing a series of slip stitches up each side to close the heel, you will want to make sure your hook goes through both the top and bottom piece of your folded heel as if we were sewing them together. 3. Slip stitch from the base of the heel to the top corner on the first side, fasten off. Moving to the 2nd side of the heel attach your yarn with a slip stitch into the top corner and slip stitch down to base of the heel, do not fasten off. 4. Lastly, we will turn the heel and toe inside out once more and are now ready to continue crocheting in the round as we did with the toe. From here we will start to work in rounds again to form the body of the stocking. When counting your rounds start from the toe and work your way up the inside of your stocking (the opposite side of your heel) as the rows of the heel will give you an incorrect round count. In round 18 we will start by crocheting across the heel and then completing a SC DEC to bridge the gap where the heel joins into the toe. We will then crochet across the toe and complete one more SC DEC to bridge the last gap. This round may feel like we are making our own stitches near the heel as we bring it together. At the end of round 18 we will want 32 stitches. If you find you are off by one or two stitches, feel free to add a decrease or increase in your next round to bring you to the right count. Round 18: SC into the next 12 sts, SC DEC, SC in the next 18 sts, SC DEC (32) Rounds 19-37: SC around (32) Fasten off and weave in ends. Eyes – Make 2 With black and 4.5mm crochet hook Round 1: Create a magic circle with 8 HDC, sl st to the first HDC to join Round 2: Ch 1, HDC INC in each stitch around, sl st to the first HDC to join (16) Round 3: Ch 1, HDC in the same st, HDC INC in the next, repeat around, sl st to the first HDC to join (24) Fasten off (leave a long tail if sewing). With white yarn create a reflection by passing through a few stitches towards the outside of the eye. Snout – With pink and 4.5mm crochet hook We will start by crocheting on both sides of a foundation chain to create an oval shape, you will want to keep your chain tight to help avoid the look of ‘holes’ on the bottom. Chain 25 Round 1: SC in the 2nd chain from hook, SC in the next 22 chains, 3SC in the last chain; working down the other side of the foundation chain, SC in the next 22 chains, complete 2SC in the last chain (which is also the first chain we started with) (50) Round 2: SC INC in the first st, SC in the next 22 sts, SC INC, 3SC into the next st, SC INC, SC in the next 22 sts, SC INC, 3SC into the last st (58) Round 3: SC into the first 28 sts, SC INC, SC into the next 28 sts, SC INC into the last (60) Round 4: SC into the first 29 sts, SC INC, SC into the next 29 sts, SC INC into the last (62) Fasten off (leave a long tail if sewing). With black yarn create a ‘V’ on each side of the snout for the nostrils. Horns – With beige and 4.5mm crochet hook, make 2 Round 1: Create a magic circle with 6 SC Round 2: SC INC in each stitch around (12) Round 3: SC in the first 3 sts, SC INC in the next, rep around (15) Round 4: SC around (15) Round 5: SC in the first stitch, INV DEC in the next, rep around (10) Rounds 6-8: SC around (10) Fasten off (leave a long tail if sewing). Ears – With black and 4.5mm crochet hook, make 2 Round 1: Create a magic circle with 8 SC Rounds 2-3: SC around (8) Round 4: SC in the first stitch, SC INC in the next, rep around (12) Round 5: SC around (12) Round 6: SC in the first 2 sts, SC INC in the next, rep around (16) Rounds 7-13: SC around (16) Round 14: SC around (16) Round 15: SC in the first 2 sts, SC DEC in the next, rep around (12) Fold ear in half and SC across the top. Fasten off (leave a long tail if sewing). Large Spot – Make 2 With black and 4.5mm crochet hook Round 1: Create a magic circle with 6 SC Round 2: SC INC in each round (12) Round 3: SC in the first st, SC INC in the next, rep around (18) Round 4: SC in the first 2 sts, SC INC in the next, rep around (24) Round 5: SC in the first 3 sts, SC INC in the next, rep around (30) Round 6: SC in the first 4 sts, 2DC in each of the next 2 sts, rep around (42) Fasten off (leave a long tail if sewing). Small Spot – Make 2 With black and 4.5mm crochet hook Round 1: Create a magic circle with 6 SC Round 2: SC INC in each round (12) Round 3: SC in the first st, SC INC in the next, rep around (18) Round 4: SC in the first 2 sts, SC INC in the next, rep around (24) Round 5: SC in the first 2 sts, 2DC in each of the next 2 sts, rep around (36) Fasten off (leave a long tail if sewing). Hanging Tag If you have not already you will want to trim your faux leather to make a strip measuring 1” wide by 5.5” long. Fold your strip in half and sew onto the inside fold of your stocking. For extra strength I made a square with an ‘X’ inside. Assembly – Note – I found it best to lay out my pieces where I wanted them to be before I began to glue (sew). Feel free to pin in place. Once you have the layout you would like, glue, or sew into place and weave in your ends. I kept my facial features centered above the heel line and randomly place my spots into the heel/toe portion. Your crochet cow stocking is complete! I hope you have enjoyed making this pattern. Let me know if you have any questions with this pattern or any of my other patterns, I would be happy to help. Thanks for stopping by, Stephanie
HOLIDAY

A free quilted Christmas stocking pattern right in time for the holidays! Sew a simple, modern stocking with this step by step tutorial.
Crafts | Sewing an
d Needlecrafts

Crocheting

crochet Snowy Night Stocking free pattern – FREE Crochet Stocking Pattern for Beginners. Click to Get the Pattern #Stocking #crochetpattern #crochet