
Product Details
Making Wire Jewelry: 60 Easy Projects in Silver, Copper & Brass
Free Shipping+Easy returns

Product Details
Chain Maille Jewelry Workshop: Techniques and Projects for Weaving with Wire
Free Shipping+Easy returns

Product Details
Bead Jewelry Making for Beginners: Step-by-Step Instructions for Beautiful Designs
Free Shipping+Easy returns

Product Details
Wire Weaving: Beginner + Intermediate Guide + Chain Maille + Kumihimo Wirework: 4-in-1 Wire Weaving Bundle
Free Shipping+Easy returns

Product Details
Wire-Wrapped Jewelry Techniques: Tools and Inspiration for Creating Your Own Fashionable Jewelry (Fox Chapel Publishing) 3…
Free Shipping+Easy returns

Product Details
The Knotting & Braiding Bible: The Complete Guide to Creative Knotting including Kumihimo, Macramé, and Plaiting
Free Shipping+Easy returns

Product Details
Guide to Beading with a Loom: From Start to Finish and Beyond
Free Shipping+Easy returns

Product Details
Making Wire & Bead Jewelry: Artful Wirework Techniques
Free Shipping+Easy returns

Product Details
Handcrafted Wire Findings: Techniques and Designs for Custom Jewelry Components
Free Shipping+Easy returns

Product Details
Beautiful Bead Weaving: Simple Techniques and Patterns for Creating Stunning Loom Jewelry (Design Originals)
Free Shipping+Easy returns

Product Details
Learn to Make Amazing Resin & Epoxy Clay Jewelry: Basic Step-by-Step Projects for Beginners (Fox Chapel Publishing) Compre…
Free Shipping+Easy returns
Product Details
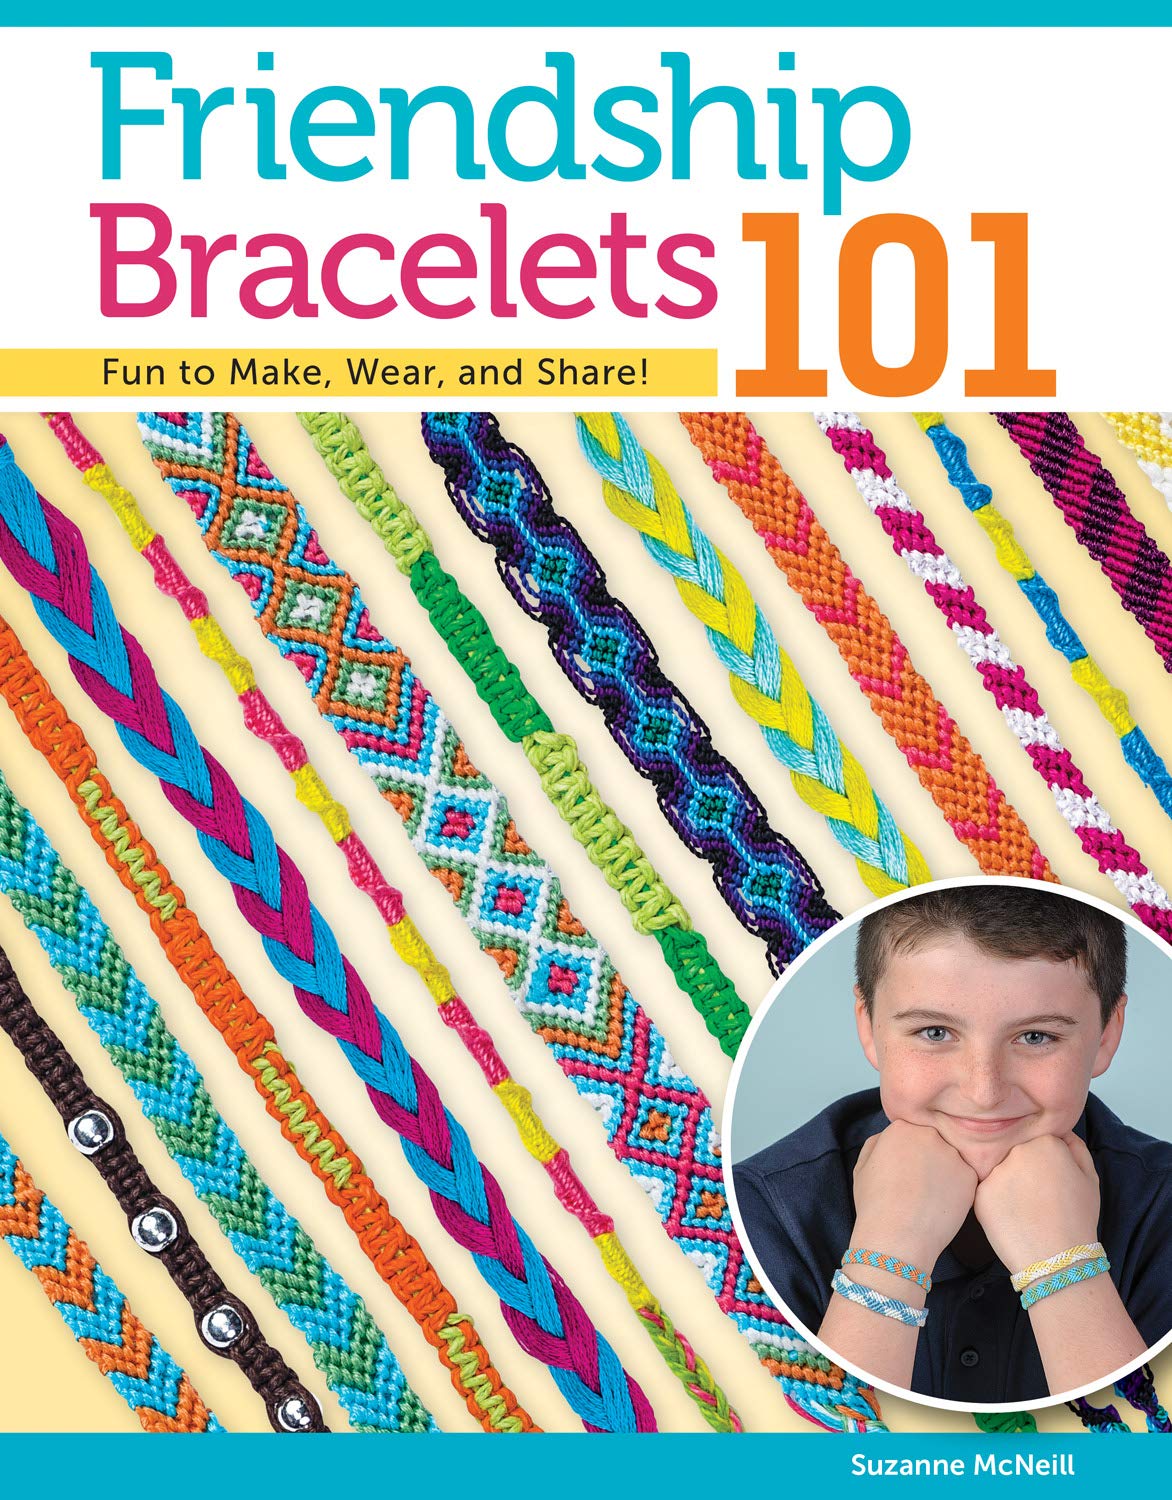
Friendship Bracelets 101: Fun to Make, Wear, and Share! (Design Originals) Step-by-Step Instructions for Colorful Knotted …
Free Shipping+Easy returns
Stuff to buy

This wire weaving tutorial provides instructions for a unique design which I have named the “Slash Weave” Pattern. The instructions are for use in wire-wrapped and wire weaving jewelry making, and can be done with a variety of metal wire types, from craft wire, to copper, brass, bronze, silver, gold-filled and even gold. The pattern may be used to create a simple but elegant two base wire pattern, or as an element in a design of your own creation that incorporates more base wires and patterns. This pattern requires previous experience with basic wire wrapping terms and techniques. To achieve a consistent tension between the base wires requires that the creator maintain the position of the base wires in a parallel placement as they work the pattern. This is especially important in the initial sections of the pattern, and may be frustrating for those unaccustomed to this level of crafting. Therefore, I suggest this is an Intermediate Level Pattern which may not be suitable for artisans at the beginner level. The tutorial consists of a fifteen-step instruction with text, illustrations and photographs to detail the pattern at various levels of completion. There are 16 pages, with large-sized photographs in line with instruction. The file is just under 783KB. In this tutorial, I use 18 gauge and 24 gauge copper wire, though of course one may use other sizes and/or types. You will need wire and a pair of wire cutting pliers to create the pattern in this tutorial. Using the instruction provided in this tutorial, one can make pendants, earrings, necklaces, bracelets, and other items. Use your imagination! I’d love to see your finished works that incorporate the pattern. Feel free to post to Instagram, Twitter, Facebook and Pinterest, and tag @TalismanShops. Please note: This tutorial is for a weaving pattern only, and does NOT include instruction for making finished pieces of jewelry. The images of finished work shown on the cover page are examples of work I have completed using the technique, and are intended only to help you visualize how you might incorporate the pattern into your own projects.
Beaded earrings

TUTORIAL My Lovely Hummingbird – Wire Jewelry Tutorial for Earrings and Pendant, Jewelry Pattern Wire Wrapped Hummingbird Tutorial DIY Jewelry Lesson Introduction to Hammering Technique – Absolute BEGINNERS Level PDF Instructions **************************** Introduction With this lesson you will learn how to make a Lovely pair of Hummingbird earrings and a Pendant, as shown in the cover picture, using only your hands and a few pieces of wire and basic tools. You will also learn how to make your own pair of handmade French ear wires, and a beaded link. I will also introduce you to Hammering, a jewelry Technique used to texture wire in order to add a plus of interest to the designs. As a Bonus, I am also showing you how to craft my signature scroll bail to hang your pendants from, a Lovely, Elegant alternative to ready-made bails or simple jump rings. My hummingbird component measures about 1 1/8” (2.8 cm) across and is 1 3/16” (3 cm) long. Yours can come out a tad smaller
or bigger, depending on where you choose to bend the wire to form the body and how small you model the loops forming the wing. Materials YOU WILL NEED: • 2 pieces of 14 inches (abt. 35 cm) of 20 ga (0.8 mm) dead soft copper wire for modeling two hummingbird components • 2 pieces of 1 inch (abt. 2.5 cm) of 20 ga (0.8 mm) dead soft copper wire for modeling two beaded links • 1 piece of 4 inch (abt. 10 cm) of 20 ga (0.8 mm) dead soft copper wire for modeling a pair of ear wires • 2 pieces of 1.5 ft. (abt. 50 cm) of 26 ga (0.4 mm) dead soft copper wire for weaving • 4 pieces of 3 mm copper beads for an accent, or any 3 mm gemstone or crystal beads you have on hand. Tools YOU WILL NEED: • Bent-chain nose pliers • Wire cutter • Nylon jaw flat nose pliers • Round chain nose pliers • Flat chain nose pliers • Chain nose pliers • Stepped round nose pliers – (Can be replaced for a pencil or anything of a similar size to use for a little mandrel) • File (could be a nail metallic or glass file) • Ruler – not shown • Marker or Sharpie to mark your wires • Bench block (stainless steel) – OPTIONAL • Plastic Hammer – to harden your wire before crafting ear wires from it • Chasing Hammer – OPTIONAL – flat head slightly convex and not the totally flat head kind! The design lends itself very well to endless variations so it is only up to you whether you want to limit yourself to the creation of my design using only the materials that I have used or, you want to let your creativity take over and play with different sorts of wire (copper, bronze, gold filled, silver filled, sterling silver, or a mixture of them) and choose various colors of gemstones to adorn your components, in order to create lots of beautiful earrings and pendants, each with its own charm and loveliness. The tutorial is filled with information, tips, tricks and advice on “how to”, all these supported by 126 crisp clear pictures with relevant explanations right beside them, spread along 9 main steps, within 39 pages. The pictures can be magnified at least 500% with clarity. Important: Please carefully read all tutorial pages before starting to make your own beautiful jewelries!!! The dimensions given in Imperial System are approximate!!! For further questions or concerns, please feel free to contact me through Etsy. You may rest assured that I will gladly assist you to the best of my abilities. Happy Jewelling!!! Thank You for visiting my shop! 🙂
Wire weaving tutorial

This INSTANT DOWNLOAD pdf tutorial will give you how to weave 6 weaves that are more unique then what’s usually used by the average wire weaver, so that you can apply it to your own jewelry and stand out! (no soldering required). Tutorial includes detailed written instructions of each step(in English), as well as tips and tricks I have learned to find useful over the years of creating. The tutorial is intermediate level, and because of the uniqueness of the techniques used in it, a knowledge of previous wire weaving skills will be useful, but not necessarily, though you will be introduced to a completely different approach and therefor I hope you will give it a try even if you feel you are not at this level because it may surprise you what you can accomplish by trying it. ****FREE*** HAND STRETCHES FOR JEWELERS TUTORIAL INCLUDED!!! (OPTIONAL DOWNLOAD) TO RECEIVE THE HAND STRETCHES FILE FOR FREE MESSAGE ME YOUR EMAIL AND MENTION FREE STRETCHES. I will email you within 72 this free hand stretches file. No purchase necessary. And no you will NOT be added to an email list. This really is FREE! ****This listing is for a wire jewelry making tutorial. Not for a finished piece.**** OVERVIEW ❧Level: Intermediate-Advanced ❧Pages: 72 ❧File Size: 4.51MB ❧Tutorial Written in English WHAT YOU’LL NEED Materials: ❧4 \u0026 5 pieces 4 inch length 20 gauge wire per weave (Base Wire) ❧1 piece 20-30 inch length 24 gauge wire per weave (Weaving Wire) ❧2 piece 30 inches length 28 or 30 gauge wire Tools: ❧Wire Cutters ❧Flat Nose Pliers ❧Needle Nose Pliers ❧Round Nose Pliers ❧Nylon jaw pliers/Wire Straightener Pliers Want More INTERMEDIATE TUTORIALS? CLICK HERE: https://www.etsy.com/shop/kinddesignsonline/?section_id=35089355 DELIVERY File will be available as an instant downloadable pdf after payment has cleared. KEEP SHOPPING ❧ Return to my main shop page here: KindDesignsOnline.etsy.com NOTE ❧THIS IS A PDF FILE SO MAKE SURE YOUR COMPUTER IS EQUIPPED WITH A PDF READER TO AVOID COMPLICATIONS. Although rare, trouble downloading can occur. If you attract any problems check out this amazing article on how to download your pdf easily: https://help.etsy.com/hc/en-us/articles/115013328108-Downloading-a-Digital-Item?segment=shopping If further problems occur message me. I always take care of my customers and their receiving of tutorials. 🙂 COPYRIGHT \u0026 TERMS OF USE ❧This tutorial is intended for use by one person only. Please do not share this tutorial with anyone else. Distribution of this tutorial is not allowed without express written consent from the author. If you wish to use the design in this lesson, or a derivative of the design in this lesson, to teach a class you must first contact the author for permission. ❧If you are an individual, independent jewelry artist you may use this lesson to make jewelry for sale. You may not use this lesson to mass produce items for a commercial operation. You may not have other people make pieces for you based on this design for you to sell. ❧Derivatives of this tutorial (instructions for a design that is derived from the design in this tutorial) are not allowed without written consent from the author.
Viking knit jewelry

FOR MORE TUTORIALS AND FREE DOWNLOAD visit my page: https://kicabijoux.com TMaking this necklace doesn’t require glue or solder. Tutorial designed for intermadiate and advance wire-wrapping makers 🙂 The process of making these earrings is presented in 20 easy to follow parts. Spring Waves Necklace Tutorial has 32 pages I’ve used oxidized copper to create this earrings, but it can be any other wire –brass, copper, silver or gold-filled. List of materials and tools : 6,5 inches (around 16 cm) of 20 gauge wire (0.8mm in diameter) 58 inches (around 146 cm) of 26 gauge wire (0.4mm in diameter)cut in half 1 quartz bead – size 8mm round nose pliers wire cutters flat nose pliers (not necessary – you can use them to flatten the necklace and adornments) ABOUT OXIDATION: Important so please do read. I do not show how to oxidize your wires in the tutorial (but then you don’t need your wires to be oxidized!). In fact if you want to oxidize your copper wires, you just have to buy liquid which oxidized silver (with instructions;). I usually use such liquid to oxidize copper as well as silver. After oxidiation it is good to clean and polish your wires or the whole piece. I don’t put this information in my tutorials so if you have any questions about oxidation or about tutorial – do not hesitate to contact me!
Shop Handmade – TSH Group Board

Create the perfect pendant for men or women! This tutorial falls under an Intermediate wire wrapping level, but is at a beginner wire weaving level. In this lesson I explain every step with details and photos to create a wire wrapped tumbled stone of your choosing! Basically any organic shaped smooth stone or river rock out there You can make into a pendant. (no bigger than 5 inches. Come on that’s a bit big for a pendant right?) You
found a heart shaped river rock on your hike with your significant other? This tutorial is for you. You enjoy tumbling your own stones? Look no further. This tutorial will teach you how to make a Wire Woven pendant with 20 \u0026 28 gauge wire, a rock, and a few tools. OVERVIEW Tutorial includes 77 photographs that show you step by step the entire process of creating this beautiful pendant of 40 pages including detailed written instructions of each step, as well as tips and tricks I have learned to find useful over the years of creating. The Celestial Twists Pendant: ❧Pages: 40 ❧Steps: 75 ❧Written in English ❧File Size: 4.28MB WHAT YOU’LL NEED Materials: MATERIALS \u0026 TOOLS ❧ 4 pieces 16 inches each, 20 gauge uncoated round wire (dead soft) ❧ 1 and more as needed pieces 20 inches, 28 gauge uncoated round wire (dead soft) ❧ chain of choice ❧ 1 tumbled stone or smooth river rock 1-5 inches in height Tools: ❧ Masking tape ❧ wire cutters ❧ flat nose pliers ❧ needle nose pliers ❧ nylon jaw pliers/wire straightener ❧ pen and paper ❧ Millimeter gauge ❧ bail maker tool or round nose pliers or pencil Pendant size approximately: ❧ Varies FREE!!! Enjoy a complimentary hand stretches pdf file (optional download) for free. Protect your hands! Remember your hands are your money makers!!!! TO RECEIVE THE HAND STRETCHES FILE FOR FREE MESSAGE ME YOUR EMAIL AND MENTION FREE STRETCHES. I will email you within 72 this free hand stretches file. No purchase necessary. And no you will NOT be added to an email list. This really is FREE! Want More INTERMEDIATE TUTORIALS? CLICK HERE: https://www.etsy.com/shop/kinddesignsonline/?section_id=35089355 KEEP SHOPPING ❧ Return to my main shop page here: KindDesignsOnline.etsy.com NOTE ❧THIS IS A PDF FILE SO MAKE SURE YOUR COMPUTER IS EQUIPPED WITH A PDF READER TO AVOID COMPLICATIONS. Although rare, trouble downloading can occur. If you attract any problems check out this amazing article on how to download your pdf easily: https://help.etsy.com/hc/en-us/articles/115013328108-Downloading-a-Digital-Item?segment=shopping If further problems occur message me. I always take care of my customers and their receiving of tutorials. 🙂 COPYRIGHT \u0026 TERMS OF USE ❧This tutorial is intended for use by one person only. Please do not share this tutorial with anyone else. Distribution of this tutorial is not allowed without express written consent from the author. If you wish to use the design in this lesson, or a derivative of the design in this lesson, to teach a class you must first contact the author for permission. ❧If you are an individual, independent jewelry artist you may use this lesson to make jewelry for sale. You may not use this lesson to mass produce items for a commercial operation. You may not have other people make pieces for you based on this design for you to sell. ❧Derivatives of this tutorial (instructions for a design that is derived from the design in this tutorial) are not allowed without written consent from the author. Tumbled Stones Tutorial, Wire wrapped Tutorial, Freeform stone tutorial, Wire wrapped Pendant, wire stone necklace, Jewelry making kit craft
diy jewelry making tutorials lessons hacks

Beaded earrings
